Using a pre-built VMWare image of WFilter NG Firewall
Contents |
1 Introduction
We do provide a pre-built VMWare image of WFilter NG Firewall. In case you want to preview WFilter NG Firewall without installation, you can download this vmware image of WFilter NG Firewall.
2 Import Steps
- Download the zip file, unzip it into a directory.
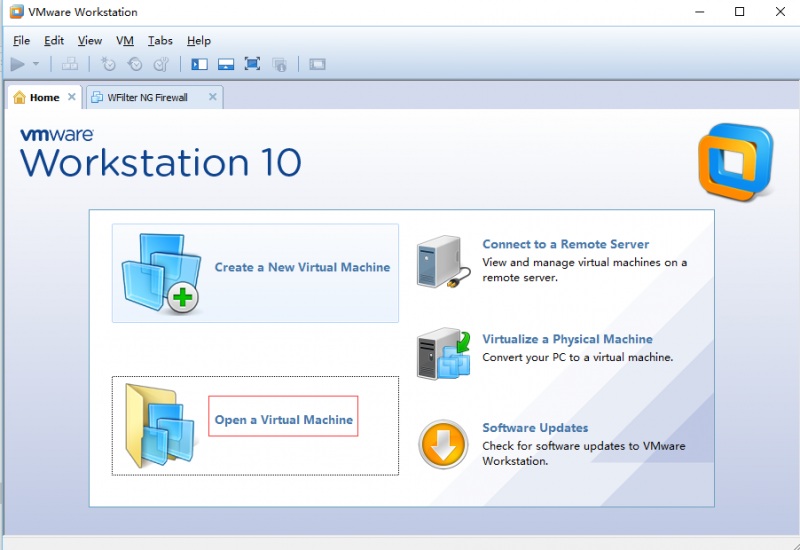
- In VMWare workstation, click "Open a Virtual Machine" to open "WFilter NG Firewall.vmx".
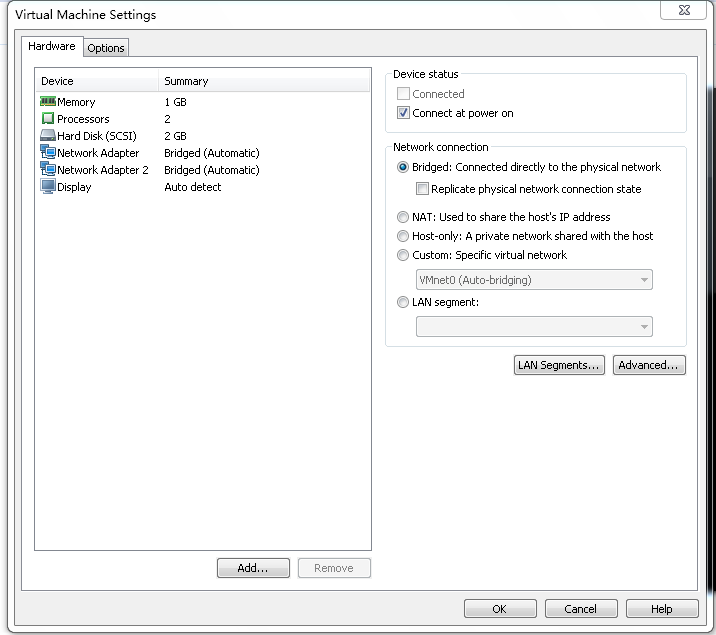
- Review the virtual machine settings.
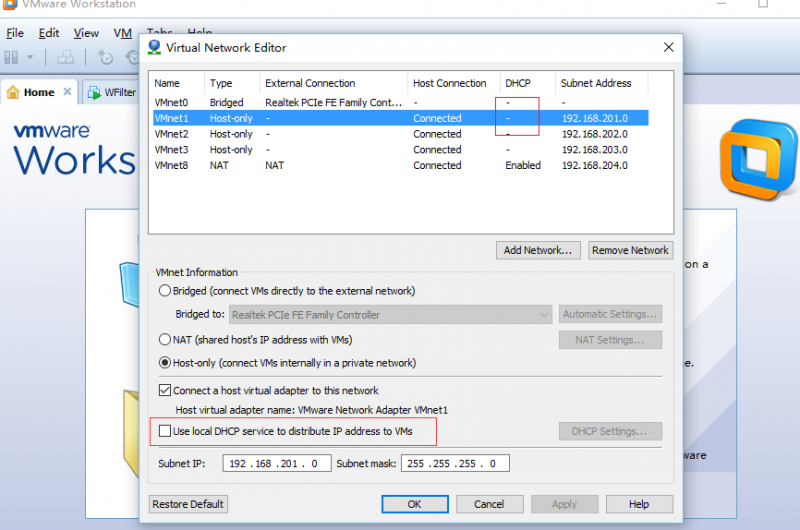
- In "Virtual Network Editor", disable DHCP for the hostonly VMnet.(Because WFilter NGF already has a DHCP server.)
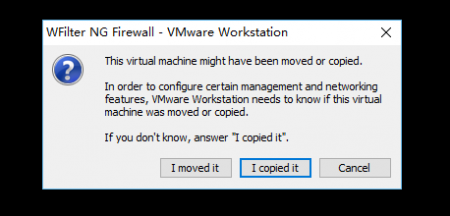
- Boot this virtual machine, choose "I copied it".
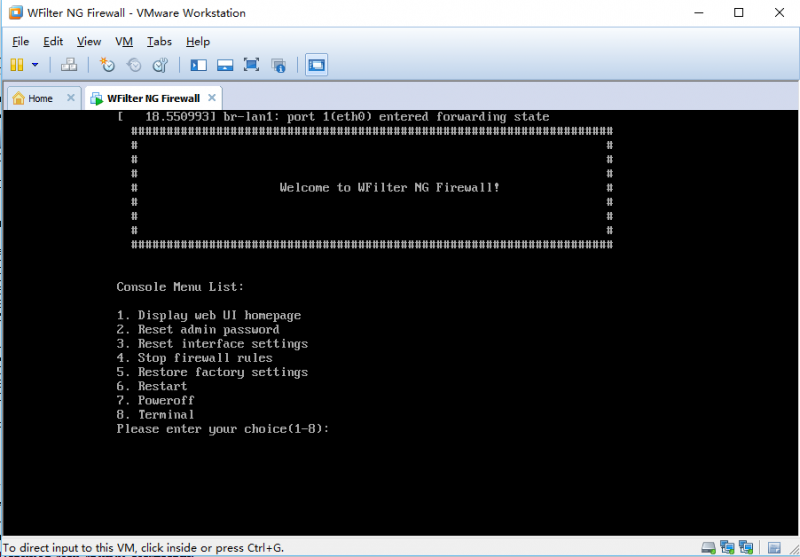
- Successfully booted.
3 Access Web-UI
This virtual machine has two adapters, the bridged adapter is for external network(DHCP), the hostonly adapter is for internal network(192.168.10.x).
To open WFilter web UI, you need to setup another virtual machine(either windows or linux), connected to the hostonly adapter with DHCP enabled(obtain ip address automatically).
This client vm will be assigned with IP address "192.168.10.x". And you can access WFilter web-UI at: http://192.168.10.1
4 Filter LAN clients
Since internal network of the pre-built vm is on the hostonly adapter, you can only monitor and filter hostonly clients by default. It's enough for preview and testing in most case.
If you want to filter LAN clients, please check below steps:
- Modify vm settings, change the "hostonly" adapter to "bridged".
- Disable the current DHCP server of your network. (Let WFilter acts as the DHCP server)
- LAN clients will be assigned with ip address "192.168.10.x", and controlled by WFilter NGF.
