WFilter NG Firewall Installation Guide
From Wiki of WFilter NG Firewall
Contents |
1 Hardware Requirements
Hardware requirements of WFilter NG Firewall:
| CPU | atom 1.8G |
| RAM | 512M |
| Disk | 1G |
| Adapters | Two wired adapters |
| 50 clients, 50Mb bandwidth | Intel atom D525 1.8GHz CPU, 1GB RAM, 80-160GB disk |
| 100 clients, 100Mb bandwidth | Intel 1037U 1.8GHz CPU, 2GB RAM, 250-500GB disk |
| 300 clients, 250Mb bandwidth | Intel core i3 3.2G CPU, 4GB RAM, 1TB disk |
| 1000-5000 clients, 1000Mb bandwidth | Intel core i5 3.2G CPU, 8GB RAM, 2TB disk |
2 Using a DVD
You can install WFilter NG Firewall using a DVD or using a USB drive. When using a DVD, please check below steps:
- Download the ISO file from [1].
- Burn the ISO into a CD/DVD disk.
- Boot your pc from the DVD driver, you should see the installation menu in a few seconds. For detailed steps of installation, please check: #Installation Steps
3 Using a USB drive
You can install WFilter NG Firewall using a DVD or using a USB drive. When using a USB drive, please check below steps:
- Download the ISO file from [2].
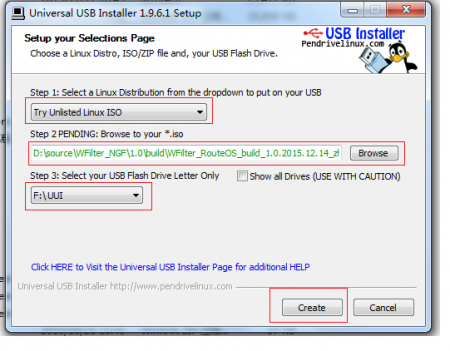
- Download and launch Universal USB Installer.
- Choose "Try Unlisted Linux ISO", browse and choose the downloaded ISO file and target USB driver.
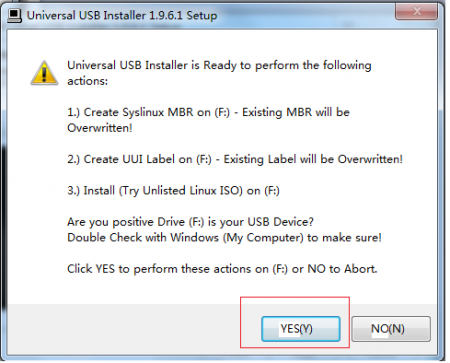
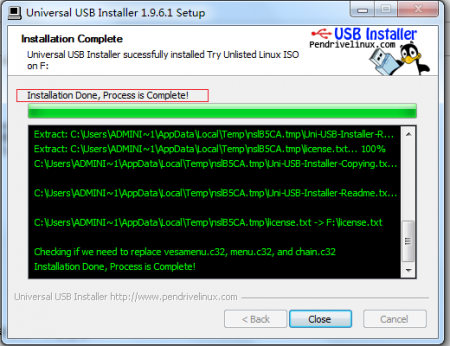
- Click "Create" to burn the ISO file into the USB driver.
- Now boot your pc from the USB driver, you should see the installation menu in a few seconds. For detailed steps of installation, please check: #Installation Steps
4 Installation Steps
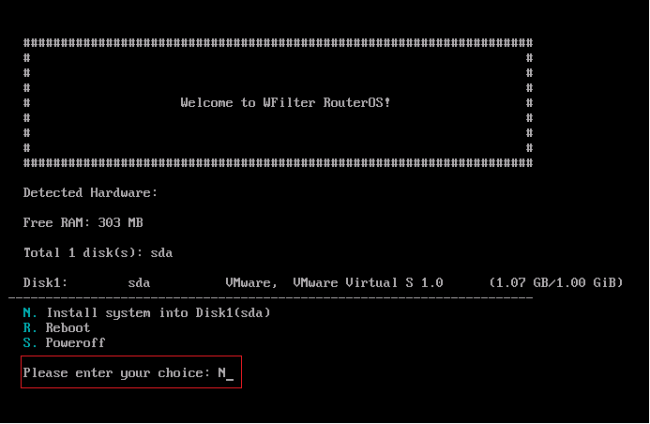
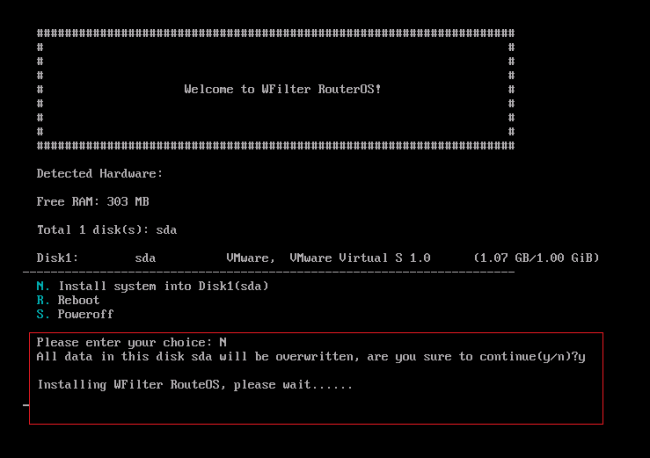
- The installation menu:
- Type "N" to install WFilter NG Firewall into the first hard disk. The installation might take about 30 seconds.
- Installation success, eject the DVD or USB and reboot.
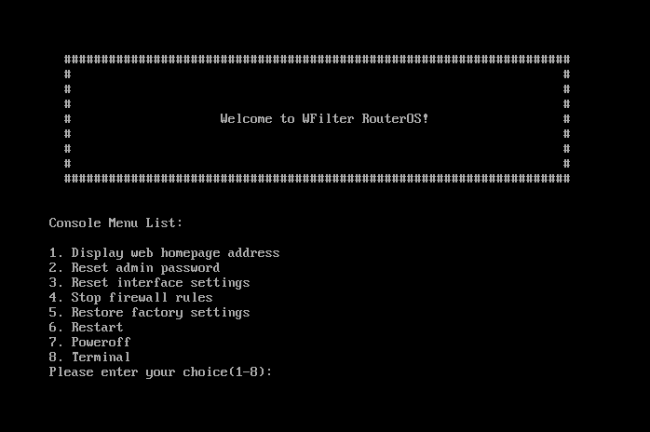
- The NGF system will initialize itself and boot into the console menu.
- Please note: If system halts on "Waiting for root device /dev/sda2…", you need to modify SATA mode to "ACHI" in BIOS settings.
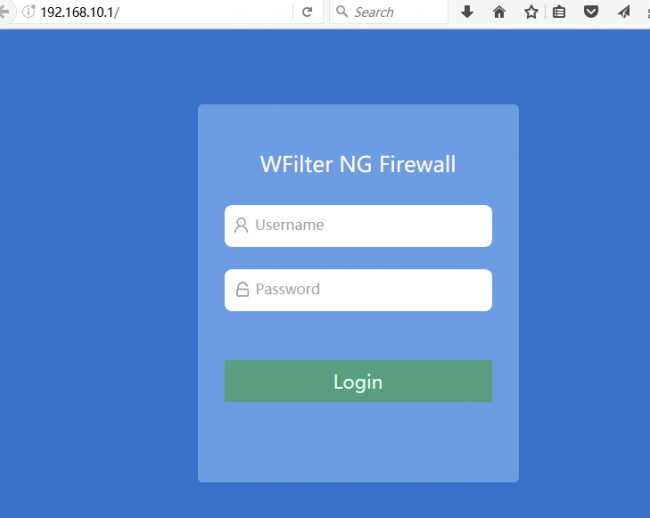
- Now you can access web UI from another pc via URL http://192.168.10.1.
- Please note:
- Default username is "admin" with password "123456".
- The first adapter will be assigned with ip address "192.168.10.1", with DHCP service enabled.
- You need to set another pc to "obtain ip address automatically" or static ip "192.168.10.x" to open the "http://192.168.10.1" web UI.
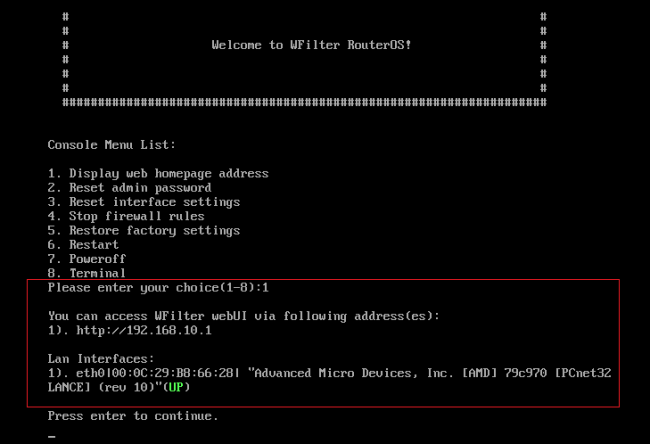
- If you're not sure of the LAN interface, please type "1" in the console menu for details.
