WFilter NG Firewall Installation Guide
From Wiki of WFilter NG Firewall
Contents |
1 Hardware Requirements
Minimum hardware requirements of WFilter NG Firewall:
| CPU | atom 1.8G |
| RAM | 512M |
| Disk | 1G |
| Adapters | Two wired adapters |
Please notice: if you need enable internet usage recording, the required disk size is related to your clients number. Please check the "Calculate the requried RAM and disk space now" in the NGF homepage.
2 Using a DVD
You can install WFilter NG Firewall using a DVD or using a USB drive. When using a DVD, please check below steps:
- Download the ISO file from [1].
- Burn the ISO into a CD/DVD disk.
- Boot your pc from the DVD driver, you should see the installation menu in a few seconds. For detailed steps of installation, please check: #Installation Steps
3 Using a USB drive
You can install WFilter NG Firewall using a DVD or using a USB drive. When using a USB drive, please check below steps:
- Download the ISO file from [2].
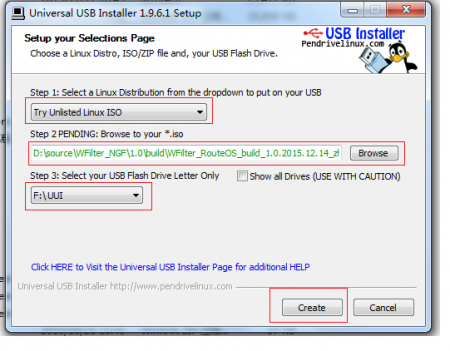
- Download and launch "Universal USB Installer".
- Choose "Try Unlisted Linux ISO", browse and choose the downloaded ISO file and target USB driver.
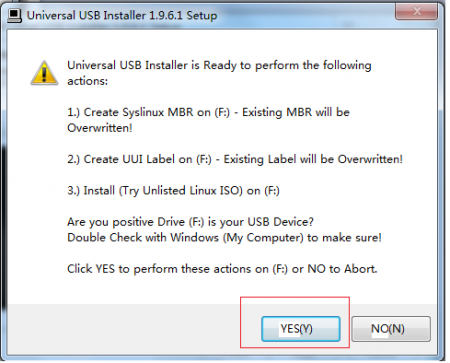
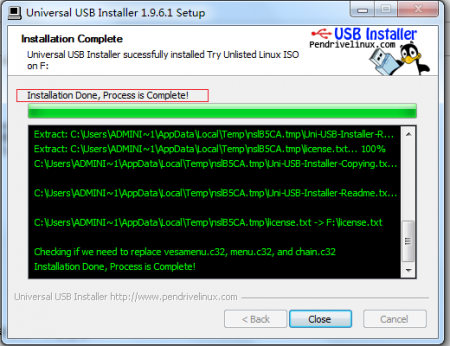
- Click "Create" to burn the ISO file into the USB driver.
- Now boot your pc from the USB driver, you should see the installation menu in a few seconds. For detailed steps of installation, please check: #Installation Steps
4 Installation Steps
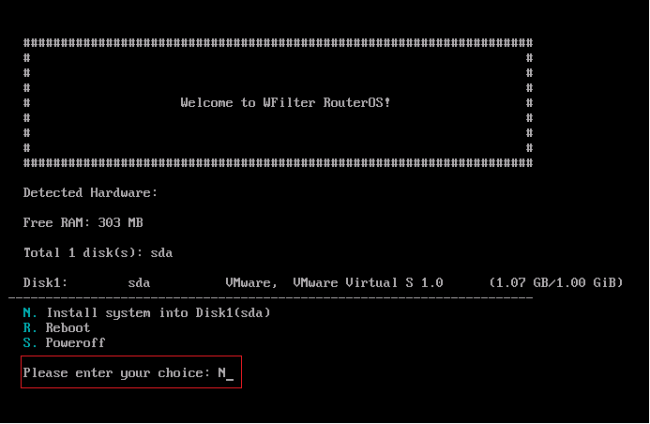
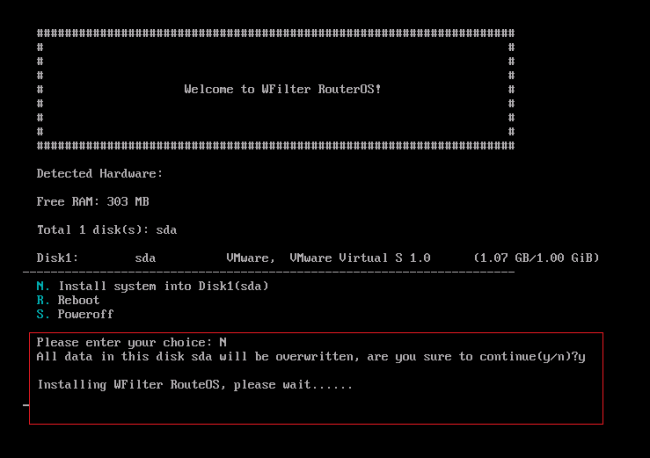
- The installation menu:
- Type "N" to install WFilter NG Firewall into the first hard disk. The installation might take about 30 seconds.
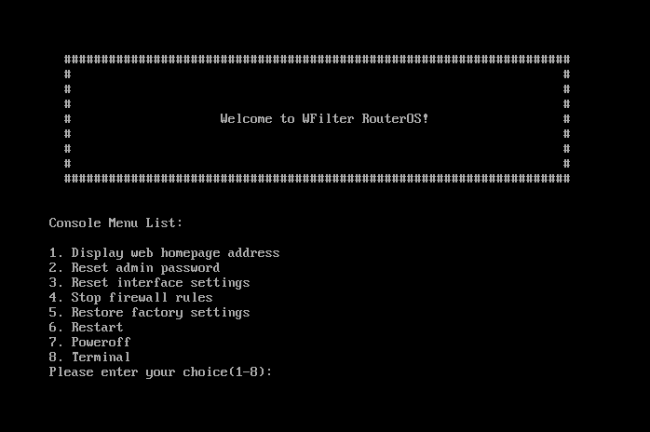
- Installation success, eject the DVD or USB and reboot.
- The ROS system will initialize itself and boot into the console menu.
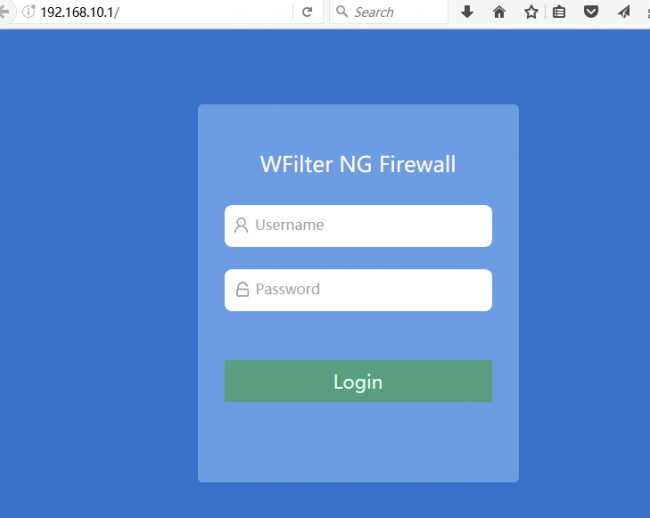
- Now you can access web UI from another pc via URL http://192.168.10.1.
- Please notice:
- Default username is "admin" with password "123456".
- The first adapter will be assigned with ip address "192.168.10.1", with DHCP service enabled.
- You need to set another pc to "obtain ip address automatically" or static ip "192.168.10.x" to open the "http://192.168.10.1" web UI.
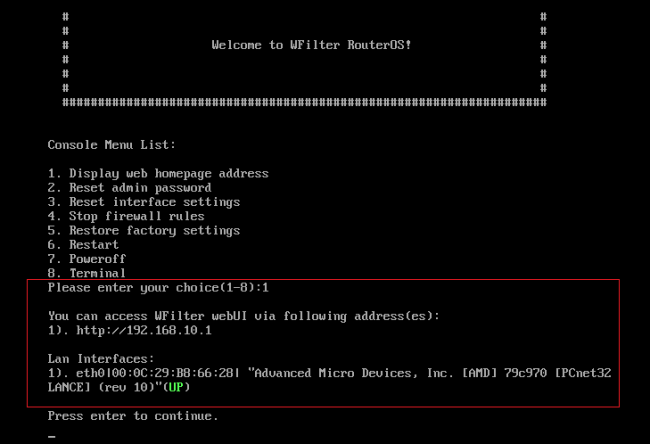
- If you're not sure of the LAN interface, please type "1" in the console menu for details.
